How to Buy an eSIM for India in 2026
7/2/2026
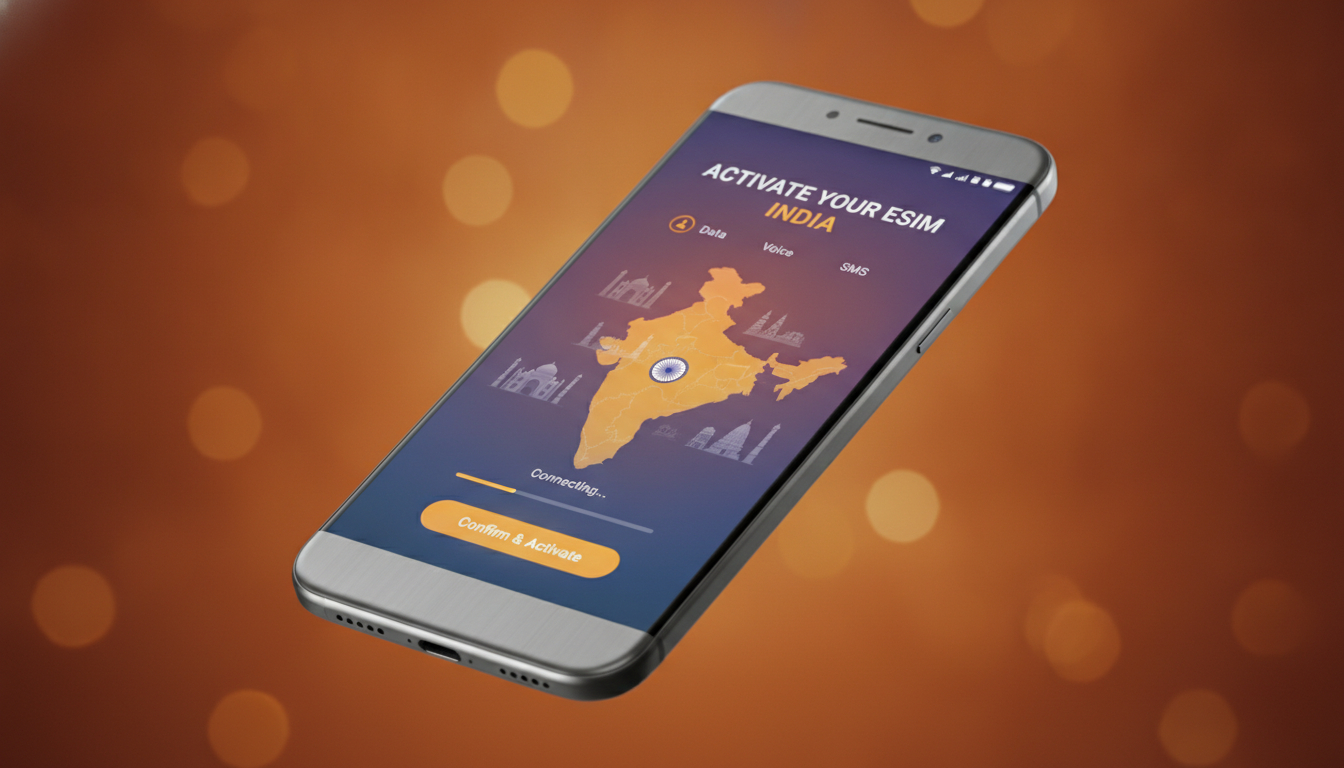
In short, what you'll discover in this article: how to buy an eSIM in India, the best providers and plans, device compatibility, activation steps, and tips to stay connected hassle-free during your trip.
1. Introduction — Why Buy an eSIM in India
Traveling to India with a local eSIM is a smart choice to avoid expensive roaming charges and enjoy seamless connectivity. The convenience of not swapping physical SIM cards means you can activate your mobile data instantly upon arrival or even before you land.
With India’s growing 5G network and competitive data plans, buying an eSIM india offers flexibility and cost savings for tourists and residents alike.
2. Advantages of eSIM vs Physical SIM
2.1 Flexibility and Multi-Profiles
An eSIM allows you to store multiple mobile profiles on one device, making it easy to switch between your home carrier and local Indian providers without removing your original SIM. This flexibility is perfect for travelers who want to keep their personal number active while using local data plans.
2.2 Instant Activation and Time Savings
Unlike physical SIMs that require visiting stores or waiting in queues, the prepaid eSIM can be purchased online and activated instantly via QR code or app. This saves valuable time at Indian airports or hotels and ensures you stay connected from the moment you arrive.
2.3 Limitations and Drawbacks to Know
While eSIMs offer many benefits, some older phones may not support them. Also, certain Indian carriers might have restrictions on eSIM activation for foreigners or require KYC (Know Your Customer) verification.
It’s important to check compatibility and provider policies before purchase.
3. Device Compatibility
3.1 How to Check if Your Phone Supports eSIM (iPhone, Android, Others)
Most recent iPhones (XS and later) and many Android models from Samsung, Google Pixel, and others support eSIM technology. To verify:
- Check your phone settings for “Cellular Plans” or “Mobile Data.”
- Consult your device manual or manufacturer website.
- Use online compatibility guides specific to India.
3.2 Verify IMEI and Compatible Model List
Indian carriers often require your phone’s IMEI number during activation to confirm compatibility. You can find your IMEI by dialing *#06# or in device settings.
Confirm that your model is supported by the chosen provider before buying an eSIM.
4. Where to Buy an eSIM in India
4.1 Local Operators (Jio, Airtel, Vi) — Advantages and Limits
India’s top telecom operators Jio, Airtel, and Vi offer official eSIM plans with extensive 4G/5G coverage nationwide. Benefits include competitive pricing and reliable service.
However, purchasing directly from them may require physical KYC verification at stores or authorized centers.
4.2 International Providers / Resellers (Benefits for Travelers)
Global platforms like Airalo provide prepaid eSIMs tailored for India with instant online purchase and activation—ideal for travelers who want convenience without visiting local stores. These providers offer flexible data packages starting as low as $4 USD with no long-term contracts.
4.3 Authorized Platforms and Precautions (Fraud, Unofficial Resellers)
Always buy from authorized sellers or official carrier websites to avoid scams or invalid profiles. Beware of unofficial resellers offering suspiciously cheap plans; they may not guarantee service quality or support.
5. Comparison of eSIM Plans in India
5.1 Prepaid vs Postpaid — Choosing Criteria
- Prepaid: No contract, pay upfront, ideal for short trips.
- Postpaid: Monthly billing with more features but requires longer commitment.
For tourists, prepaid plans are usually more convenient.
5.2 Comparison Table (Price, Data, Validity, Calls/SMS)
| Provider | Plan Type | Price Range | Data Allowance | Validity | Calls/SMS Included |
|---|---|---|---|---|---|
| Jio | Prepaid | ₹199 - ₹999 | 1GB - Unlimited | 28 - 84 days | Local calls & SMS |
| Airtel | Prepaid | ₹249 - ₹999 | 1GB - Unlimited | 28 - 84 days | Local calls & SMS |
| Vi | Prepaid | ₹199 - ₹999 | 1GB - Unlimited | 28 - 84 days | Local calls & SMS |
| Airalo (Intl) | Prepaid | $4 - $50 | Varies | Varies | Data only |
Note: Prices are approximate; check current offers on official sites.
6. Step-by-Step Buying and Activation Guide
6.1 Required Documents (KYC) and Purchase Steps
- For local Indian operators: valid ID (passport), visa details may be required.
- For international providers: usually no documents needed.
- Purchase online via carrier website or reseller platform.
- Provide IMEI if requested.
6.2 Activation via QR Code / App — Detailed Procedure
- Receive QR code after purchase via email or app.
- On your phone, go to Settings > Cellular > Add Cellular Plan.
- Scan the QR code.
- Follow prompts to complete activation.
- Restart phone if necessary.
6.3 Screenshots and Checklist Before/After Activation
Before activation:
- Ensure Wi-Fi is on for QR scanning.
- Backup existing SIM settings.
- Confirm phone is unlocked.
After activation:
- Test mobile data connection.
- Check APN settings if needed.
- Verify balance/data allowance in app.
7. Troubleshooting Common Issues
7.1 Activation Errors, APN Settings, Physical SIM Conflicts
If activation fails:
- Double-check QR code validity.
- Reset network settings.
- Disable physical SIM temporarily if conflicts arise.
- Manually configure APN if data doesn’t work.
7.2 When to Contact Operator Support
Reach out if:
- You cannot activate after multiple attempts.
- Data speeds are unusually slow.
- Billing issues arise.
8. Roaming and Options for Travelers
8.1 Best Practices for Visitors in India
Buy your eSIM before arrival for instant connectivity; choose plans matching your expected data usage; keep a backup physical SIM if possible.
8.2 Saving on Data Roaming Costs
Use Wi-Fi whenever available; monitor usage via apps; select local prepaid plans over international roaming packages for better rates.
9. Security, Privacy, and Regulations
9.1 KYC and Data Retention in India
Indian law mandates KYC verification for mobile connections; your data is stored securely by carriers but review privacy policies carefully.
9.2 How to Delete or Transfer an eSIM Profile Safely
To remove an eSIM profile:
- Go to Settings > Cellular > Select plan > Remove plan.
- For transfer between devices, contact carrier support for reactivation steps.
11. Conclusion and Recommendations
For tourists seeking hassle-free connectivity in India, purchasing a prepaid eSIM from trusted international providers like Airalo or directly from Jio offers the best balance of convenience and cost-efficiency. Residents may prefer postpaid plans from major operators like Airtel or Vi for comprehensive services.
12. Call to Action
Check your phone’s compatibility now by verifying your IMEI number and model on indiasim.com/blog/india-travel-esim. Compare the latest offers on indiasim.com/blog/india-esim-plan before buying your perfect India eSIM today!
What should you verify before paying online?
An online purchase is only truly instant when the device, package, and activation conditions match. Before paying, I recommend checking the network used in India, the validity trigger, hotspot permission, top-up options, and the refund policy.
Also confirm whether the package is data-only: many travel eSIMs do not provide an Indian phone number, conventional calls, or SMS.
The validity trigger deserves particular attention. If a package starts when it is installed, adding it several days before departure can consume paid days before arrival.
If validity starts only when the profile first connects to a supported Indian network, installing it over reliable Wi-Fi before the flight normally removes one airport troubleshooting step. This difference changes the right installation time and can determine whether the plan lasts for the full trip.
Check the exact handset model rather than only its commercial name. Phones sold under the same name can have different regional hardware, and a model bought for one market may lack eSIM support even when another version supports it.
In that situation, the settings menu or a generic compatibility list can be misleading; verifying the model number and carrier-lock status prevents purchasing a profile the phone cannot download.
Save the order reference, QR code instructions, APN details, and support contact offline before traveling. Airport Wi-Fi may require a login page or become congested, so relying on an email that can only be opened online creates a circular problem when activation fails.
A local screenshot gives you the information needed to configure the line without an existing mobile connection.
Current package prices and allowances change frequently. Treat the figures in comparison tables as orientation, then check the provider’s live checkout page for the final total, included high-speed data, validity, and taxes.
When a plan is advertised as unlimited, read the fair-use terms: after a daily or total allowance, speed may be reduced enough for messaging but not for video calls, navigation updates, or hotspot use.
When should you install and switch on the plan?
Installation downloads the profile to the phone, while activation starts service or validity according to the provider’s rules. When the terms allow it, I install the profile on dependable Wi-Fi before departure but leave the India line disabled for mobile data until arrival.
This separates a technical setup task from the rushed period after landing.
On dual-SIM phones, assign mobile data manually to the India profile and review the “cellular data switching” or equivalent setting. If automatic switching remains enabled, a weak signal on the travel profile can make the phone send data through the home SIM.
The fallback mechanism is convenient at home but can create roaming charges abroad even though the eSIM was installed correctly.
Do not delete an eSIM simply because it fails to connect on the first attempt. Many QR codes are single-use: deleting the profile removes its credentials, and scanning the original code again may not work.
First verify the selected data line, data-roaming instruction, APN, remaining allowance, and network registration; then toggle airplane mode or restart the phone. Ask support for a reissue before removing the profile.
If the eSIM shows signal bars but no internet access, the installation itself is usually complete. In that condition, the selected data line and APN are more likely causes than the QR code.
By contrast, a profile that never registers on a network may indicate that it was activated outside its coverage area, that the device is locked, or that the chosen partner network is unavailable in that location.
For a long stay or heavy data use, compare the effective cost per gigabyte rather than the entry price. International packages usually win on remote purchase convenience, while a domestic operator can offer better value after KYC is completed.
The practical choice therefore depends on trip length, expected hotspot use, arrival logistics, and how much time you can devote to local onboarding.
FAQ
How do I check if my phone supports eSIM in India?
To check eSIM compatibility, look for 'Cellular Plans' in your phone settings or consult your device manual. Most iPhones XS and later, plus many Android models like Samsung and Google Pixel, support eSIM. Confirm your model’s compatibility before purchasing an Indian eSIM.
Where can I buy a reliable eSIM for India?
You can buy eSIMs from local Indian carriers like Jio, Airtel, and Vi or international providers such as Airalo. Local operators offer extensive coverage but may require in-person KYC, while international sellers provide instant online activation and flexible plans ideal for travelers.
What documents are needed to activate an eSIM in India?
For local Indian carriers, you typically need a valid ID like a passport and visa details for KYC verification. International providers usually do not require documents. Always check the provider’s requirements before purchase to ensure smooth activation.
How do I activate my eSIM after purchase in India?
After buying your eSIM, you’ll receive a QR code via email or app. On your phone, go to Settings > Cellular > Add Cellular Plan, then scan the QR code. Follow the prompts to complete activation and restart your device if needed.
What should I do if my eSIM activation fails in India?
If activation fails, verify the QR code is valid and reset your network settings. Temporarily disable your physical SIM if conflicts occur and manually configure APN settings if data doesn’t work. Contact your provider’s support if issues persist.

Anjali Rao
Anjali is a travel and technology writer who has criss-crossed India by train, plane and rickshaw. At India eSIM she tests travel data plans on Jio, Airtel and Vi and explains how visitors can stay online affordably from Delhi to the backwaters of Kerala.